Blisters. The dreaded badge of honor that no hiker wants after a long day on the trail. Though some view blisters as a rite of passage, these painful sores can cut a hiking trip short or make the experience thoroughly miserable.
According to the American Podiatric Medical Association, over 17% of casual hikers experience debilitating blisters from poor footwear and friction. For avid backpackers traversing long distances, that number jumps to a whopping 70%, suffering from regular blistering.
Clearly, blister prevention should be a top priority when preparing for a hike. But with so many purported remedies and hacks out there, how to prevent blisters when hiking? This definitive guide covers all the science-backed strategies for avoiding blisters when hiking. Say goodbye to bloody socks and embrace happy trails ahead!
Table of Contents
How do you get blisters on the Feet?

Before jumping into prevention tips, let’s understand how blisters develop in the first place.
A blister forms when friction causes skin layers to separate and fill with fluid. This usually occurs in areas where the skin rubs consistently against shoes, socks, or another surface.
On the feet, common hot spots include the toes, heels, and balls of feet. These areas bear the brunt of impact while walking and have little fat padding to protect them.
According to dermatologists, the foot contains two main skin layers:
- The epidermis (outer layer): This protective barrier prevents fluid loss. However, excessive friction can detach the epidermis from the lower dermis.
- The dermis (inner layer): When the dermis separates from the epidermis, plasma leaks out and pools between the layers. This fluid buildup results in a fluid-filled blister.
Over time, continued irritation causes blisters to grow in size and become more painful. They may even rupture, increasing the risk of infection.
So to avoid hiking blisters, the key is reducing friction on the feet as much as possible. Let’s review the best preventive measures to address rubbing and hot spots before they start.
Choose Proper Hiking Socks to avoid hot spot
The right socks act as a shield between your feet and shoes, protecting your skin from abrasion. They make up the very foundation of blister prevention.
Avoid cotton socks at all costs – they hold sweat and moisture against the skin rather than wicking it away. This increases rubbing as they become damp.
Instead, look for socks specifically engineered for hiking, usually a wool or synthetic blend. Merino wool offers moisture-wicking properties to keep feet dry. Certain synthetic fibers like olefin or polyester also work well.
Ideal hiking socks have these blister-thwarting features:
- Moisture-wicking material: Prevents dampness and reduces friction
- Snug fit: Eliminates excess material that could cause rubbing
- Padding: Provides extra cushioning around vulnerable areas prone to blistering
- Smooth toe seams: Seamless toes prevent abrasion and hot spots on toes
- Anti-microbial properties: Discourage bacterial growth and odor
- Heat regulation: Wool or polyester fibers keep feet warm in winter but cool in summer
- Variable thickness: Reinforced padding on heels, toes, balls of feet
Many hikers swear by double-layer sock systems as well. Wearing a thin liner sock underneath a thicker outer sock provides an extra protective barrier. Just ensure a proper fit so doubled-up socks don’t cram toes or constrict circulation.
Consider packing multiple pairs of socks so you can change whenever your feet get wet. Letting socks fully dry out at night also restores their moisture-wicking ability. With fresh hiking socks each day, you remove one factor leading to those dreaded blisters!
Sock Materials for Blister Prevention
| Material | Pros | Cons |
|---|---|---|
| Wool | Moisture-wicking, breathable, insulated, anti-microbial | Can be bulky, expensive |
| Polyester | Lightweight, quick-drying, durable | Not as insulating, can get smelly |
| Olefin | Extremely moisture-wicking and quick-drying | Less durable, not cushioned |
| Cotton | Natural fiber, comfortable | Absorbs moisture, dries slowly |
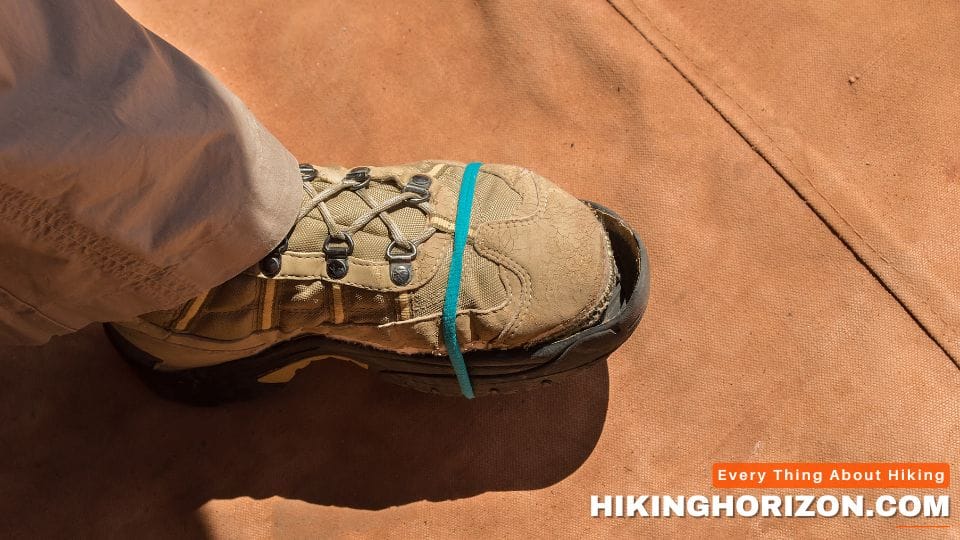
Break-in Hiking Boots helps prevent hiking blisters
Don’t head out on a long-distance trek in brand new hiking boots or shoes that haven’t been broken in! Those stiff, unyielding shoes are sure to chew up your feet and leave blisters in their wake.
Properly broken-in footwear molds to your feet’s shape and prevents painful rubbing on the trail. Take these steps when you invest in new hiking shoes or boots:
- Start wearing them around the house – Walk around on carpet for short periods to gently acclimate your feet.
- Try them on inclines – Walk up and down stairs and hills around your neighborhood.
- Take short hikes – Before a big trek, take a few 2-4 mile hikes on easy terrain.
- Target 20-30 miles – Most hiking footwear requires at least 20-30 miles of use before it’s deemed well “broken-in.”
- Check for hot spots – Stop periodically when breaking them in to check for any rubbing spots or irritated areas that may lead to blisters.
- Consider sizing up – Many hikers purchase boots a half or full size up from their regular shoe size to allow room for your feet to swell on hikes. You can lace more loosely while breaking them in.
Be sure to wear moisture-wicking liner socks when breaking in shoes to manage friction. If you develop any hot spots or blisters, use the treatments we’ll discuss later to heal them quickly. Don’t try to push through pain, or it could sideline your feet for the long haul.
A bit of patience goes a long way toward a proper boot break-in. Your feet will reap the rewards out on the trail.
Related Article: Do New Hiking Boots Need Breaking In If They Aren’t Stiff? 6 Tips For Break-In Hiking Boots
Use Toe Socks or Gaiters to Protect Toes

Toes often bear the brunt of blister damage on hikes, right? Crammed together in your shoes, they’re constantly rubbing against each other and the toe box while you walk.
Toe socks and gaiters can both help safeguard your toes from blistering. Here’s how:
Toe Socks
These specialty socks have individual sleeves for each toe, separating them to prevent skin-on-skin abrasion and friction. Brands like Injinji or Vibram FiveFingers make popular toe socks.
Other benefits include:
- Improved dexterity and stability compared to regular socks
- Allows toes to splay naturally as you walk
- Various sleeve lengths to choose from
- Seamless toes prevent irritation
- Can double up on layered sock system
However, toe socks aren’t for everyone. Some hikers dislike the fit between their toes or find them overly tight. Others are prone to developing new blisters between sock divisions.
Hiking Gaiters
These covers wrap around the ankle and top of the shoe to protect feet from debris, moisture, and abrasion. Made of lightweight synthetics, they can provide extra shielding for vulnerable toes.
Look for gaiters that:
- Secure under the arch and behind the heel
- Feature rugged materials that won’t rip easily on terrain
- Maintain breathability to avoid trapping sweat
- Provide enough coverage over the toes
Gaiters slip over your hiking shoes and socks so they’re easy to add protection when you need it. You can use them as part of a layered system along with toe socks.
Toe Socks vs. Gaiters for Blister Protection
| Toe Socks | Gaiters | |
|---|---|---|
| Description | Socks with individual toe sleeves | Covers for ankle/top of shoe |
| Pros | Separates toes to reduce friction Seamless toe construction Moisture-wicking materials | Shields toes and ankles Repels debris/moisture Easy to take on and off |
| Cons | Some don’t like fit Can cause new blisters between toes | Can get hot Limited breathability Extra gear to pack |
| Best For | Hikers prone to toe blisters Wet conditions | Trail debris/weather protection Preventing ankle blisters |
| Use With | Moisture-wicking liner socks | Toe socks for added protection |
Toughen Your Feet Pre-Hike ─ must for every hiker

Don’t head out on a long-distance trek with soft, tender feet. They’ll be chewed up by mile 5!
Take proactive steps before your hike to toughen the skin on your feet, reducing their susceptibility to blistering:
Exfoliate Feet
- Use a pumice stone or foot file to remove calluses and rough skin. But avoid painful cracks in skin.
- Soak feet in warm water with epsom salt to soften skin and improve exfoliation.
- Apply a urea foot cream after scrubbing to deeply moisturize.
Harden Soles
- Take barefoot walks on pavement, sand, or gravel to naturally build calluses on the bottoms of your feet.
- Apply duct tape to ball/heel areas and wear while doing housework. The adherent tugging hardens the skin.
- Consider using a foot peel mask 1-2 weeks pre-hike to shed off old skin layers.
Moisturize Feet
- Massage feet daily with a rich lanolin-based cream to condition skin.
- Sleep with socks and hydrating balm like Aquaphor or petroleum jelly. The occlusion boosts moisture absorption overnight.
Monitor with Pre-Hike Walks
- Do a couple of short practice hikes in your boots before the big trek.
- Check feet afterward for any hot spots or rubbed areas. Use a blister treatment.
- This allows time for skin to further toughen up.
Get your feet hike-ready with some TLC beforehand, and they’ll power you through the long miles ahead!
Toughening Feet Pre-Hike
| Goal | Tips |
|---|---|
| Exfoliate | Pumice stone or foot file, Epsom salt soak, Urea cream |
| Harden Soles | Barefoot walks, Duct tape on friction zones, Foot peel mask |
| Moisturize | Massage with lanolin cream, Hydrating balm overnight, Petroleum jelly |
| Monitor | Practice hikes in boots, Check for hot spots after, Allows skin to adjust |
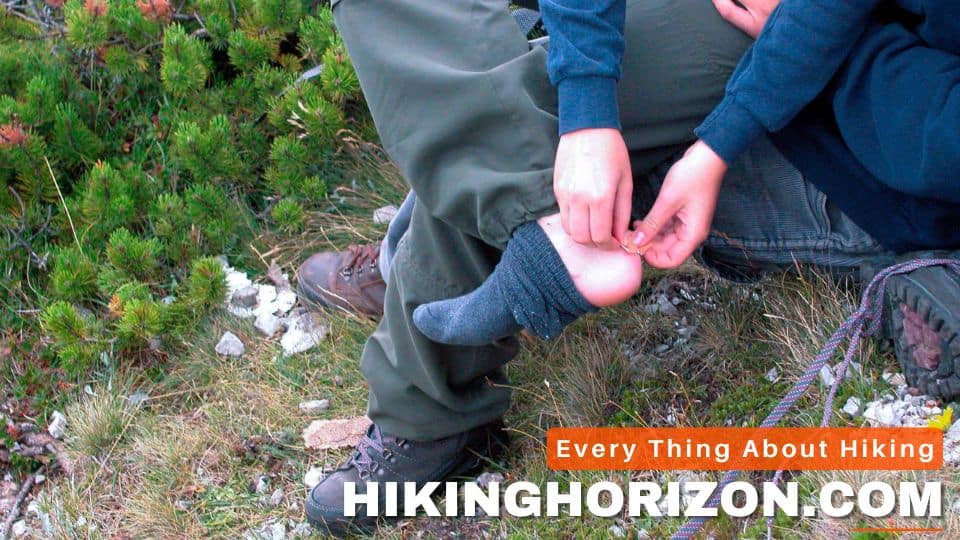
How to Tape Feet to Prevent Blisters

One strategy many ultramarathoners and thru-hikers swear by is taping the feet before hitting the trail.
Specialized tapes create a protective second skin to defend high-friction areas and prevent blistering. Common taping areas include the toes, heels, and balls of feet.
What Type of Tape Works Best?
Look for tapes designed specifically for feet to allow flexibility:
- Paper athletic tape – Breathable and stretchy. Use for occasional hot spots.
- Moleskin tape – Cushioned cotton flannel backing. Sticks well and makes custom shapes.
- Kinesiology tape – Woven cotton/nylon allows stretching. Stays on for days.
- Leukotape – Latex-free, waterproof adhesive used by ultramarathoners. Great for wet conditions.
- Micropore tape – Smooth, paper surgical tape that tears easily to size.
Avoid shiny plastic tapes like electrical tape or duct tape as they don’t flex well with foot movement.
Techniques for Applying Foot Tape
Use these methods to get the most friction protection from taping:
- Clean and dry feet thoroughly – Tape won’t adhere well to damp, oily skin. Use alcohol pads to remove residue.
- Tape pressure points – Heels, balls of feet, and base of big toes commonly get blisters.
- Use redness as a guide – Pink areas may indicate the start of blisters. Protect those spots proactively.
- Cover with moisture-wicking socks – Helps keep tape localized and prevents peeling edges.
- Activate adhesive – Rub tape to stimulate the glue and improve sticking power.
- Customize shape – Cut tape into butterfly or donut shapes to fit toes, heels better.
- Overlap edges – Create protective layers over high-friction zones.
- Reapply as needed – Carry extra tape to replace any that falls off during your hike.
Using tape as directed by your podiatrist or sports medicine doctor can transform even the most blister-prone feet. Don’t be afraid to cover large surface areas for maximum shielding.
| Goal | Tips |
|---|---|
| Prepare | Clean and dry feet thoroughly, Use alcohol pads to remove residue |
| Identify Areas | Tape pressure points like heels, balls of feet, base of big toes |
| Use Visual Cues | Tape pink areas indicating hot spots |
| Maximize Effect | Cover with moisture-wicking socks, Activate adhesive by rubbing |
| Customize | Cut tape into shapes for toes and heels, Overlap edges |
| Maintain | Reapply as needed, Carry extra tape |
Lubricate Feet to Reduce Friction
What’s the best way to combat rubbing and friction on your feet during a hike? Lubrication.
Applying lubricating balms, creams, or powders Mimics your skin’s natural oils that get depleted. This helps high-friction zones glide instead of chafing.
When to Lubricate
Apply lubricants:
- Generously on clean, dry feet before hiking
- On hot spots during long breaks to soothe and prevent blister formation
- In sock liners or shoes to reduce abrasion internally
- Before bed if feet feel “break-in pains” after a long hike
What to Use
These lubricating substances all work to cut down on rubbing:
- Petroleum jelly – Classic barrier cream. Messy but effective; use sparingly.
- Anti-chafe balms – Formulated for friction spots; made to stay put with silicones.
- Foot glide creams – Marketed for blister prevention; absorb well without greasiness.
- Tallow or wax-based salves – Utilized by ultralight hikers; naturally slick and protective.
- Baby powder – Absorbs moisture and creates slippery surface. Use inside socks.
- Teflon-based powder sprays – Spray onto feet for a dry, friction-fighting coating.
Test new lubricating products before a big hike to avoid any skin irritation or allergic reactions. Reapply frequently as needed during your trek.
How to Treat Blisters If They Develop

Despite your best efforts, sometimes painful blisters still manage to rear their ugly head out on the trail. Don’t panic – you can still salvage your hike even after developing blisters.
Here’s how to provide first-aid care:
Drain Large Blisters
- Use a sterilized needle to puncture the edge of the blister.
- Apply gentle pressure to drain the fluid.
- Swab with antiseptic and re-cover with antibiotic ointment and bandage.
Protect Sensitive Blisters
- Cover hot spots early with mole foam or blister bandage to prevent further abrasion.
- Cushion with gauze and tape larger blisters.
- Change dressings and reapply ointment daily.
Manage Infection
- Look for spreading redness, pus, and fever, which indicate infection.
- Never puncture a blister if it appears infected.
- Seek medical care for cellulitis, a potentially serious skin infection.
- Keep cleaning and dressing blisters properly.
Reduce Pain
- Elevate feet and ice blistered areas to decrease swelling.
- Take an oral pain reliever like ibuprofen to ease discomfort.
- Wear open-toed shoes or sandals once blisters rupture to prevent re-injury.
Prevent Recurrence
- Identify sources of friction blisters and protect those spots better.
- Allow blisters to fully heal before attempting long hikes again.
- Consider medical intervention for those prone to recurrent blisters.
While properly caring for blisters mid-hike, also re-evaluate your prevention regimen. Additional anti-friction measures, taping, or different footwear may be needed for problem zones. Never “tough out” unmanaged blisters, as they can put a quick end to your trek.
| Issue | Treatment |
|---|---|
| Large intact blister | Sterile needle drainage, Antibiotic ointment, Covering |
| Friction hot spot | Blister bandage, Molefoam padding |
| Popped blister | Cleaning, Antibiotic ointment, Dry dressing |
| Infected blister | Medical care, Oral antibiotics |
| Pain and swelling | Elevation, Ice packs, Ibuprofen |
| Prevent recurrence | Identify causes, Allow healing time, Medical help |
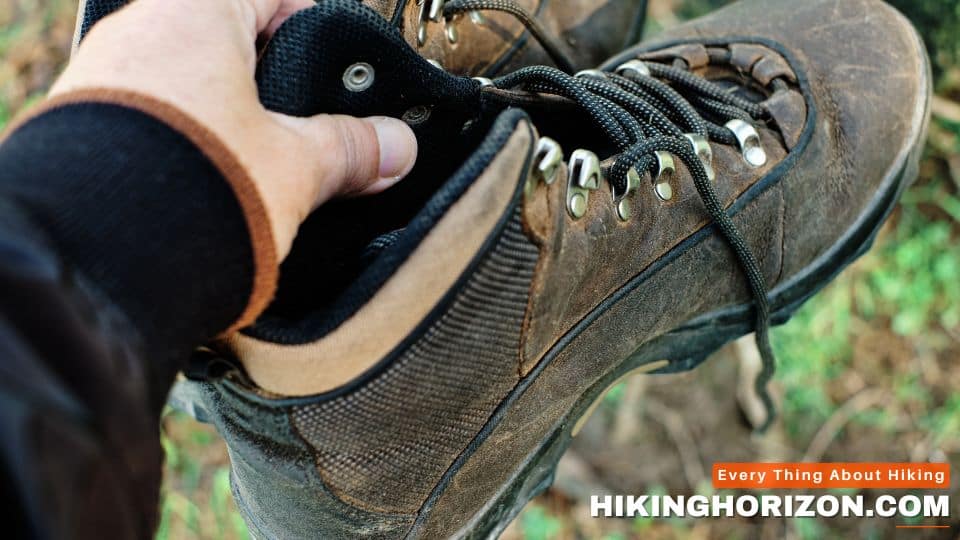
How to Choose the Right Hiking Boots and Socks

We’ve covered the importance of broken-in, well-fitted hiking boots and moisture-wicking socks. But with so many choices out there, how do you select the best options?
Choosing Hiking Boots
For multi-day backpacking trips, prioritize ankle support and stability in a higher boot. Other features to look for include:
- Waterproof materials (leather or membrane construction)
- Rigid sole with traction lugs
- Reinforced toe cap to prevent abrasion
- Padding around the ankle collar
- Lace-up design for custom fit
- Room to fit orthotics if needed
For day hikes, focus on comfort and breathability in a “light hiker” or trail running shoe style. Consider:
- Lightweight mesh or synthetic materials
- Flexible, cushioned midsole
- Low collar around the ankle
- Quick lacing system
- Added toe bumper
Visit an outdoor specialty store to get properly fitted for hiking footwear. Try boots on with the hiking socks you plan to wear. Walk around the store and on inclines to gauge fit.
Choosing Socks
These attributes make for ideal hiking socks:
- Blend of wool, polyester, or olefin – wicks moisture, insulates feet
- snug fit – prevents friction while allowing circulation
- variable cushioning – extra padding at heels, toes, and arches
- flat, smooth seams – prevents abrasion on the skin
- medium weight – not too thin or thick based on conditions
You can also try a two-layer sock system for added friction protection:
- Thin moisture-wicking liner sock
- Thicker cushioned outer sock
Purchase socks designed specifically for hiking from reputable outdoor brands. Always carry extra pairs!
When to Seek Medical Help for Blisters

Most minor hiking blisters can be treated safely at home using proper first aid. However, consult a podiatrist or sports medicine physician if:
- Blisters show signs of infection like red streaks, pus, fever, etc.
- They lead to extensive, painful swelling of feet or legs
- They recur in the same areas despite preventive efforts
- They limit your ability to walk or bear weight on feet
- You have a medical condition like diabetes that impairs healing
- You develop symptoms of cellulitis, a rapidly spreading skin infection that requires oral antibiotics.
Seek prompt medical care for any unusual foot issues resulting from blisters to avoid complications. Be prepared to describe your hiking history and any blister prevention methods used.
For those with chronic blistering, custom orthotics, specialized hiking boots, or prescription-strength topicals may be needed. Don’t hesitate to ask your podiatrist for help getting back on the trails blister-free!
How To Prevent Blisters When Hiking? Post-Hike Foot Care
Proper post-hike foot care is essential for treating blisters and promoting healing. After completing your backpacking adventure, follow these steps to address blisters effectively:
- Clean the Affected Area: Gently wash the blistered area with mild soap and warm water to remove dirt or debris. Be careful not to burst the blister while cleaning.
- Leave Intact or Drain Safely: If the blister is intact and not causing excessive pain, it is generally best to leave it undisturbed. The blister acts as a natural protective barrier. However, if the blister is painful or likely to burst independently, you can carefully drain it using a sterilized needle. Clean the area again after draining.
- Apply an Antibiotic Ointment: After cleaning the blister, apply a thin layer of antibiotic ointment to prevent infection. It helps create a protective barrier and promotes healing.
- Cover the Blister: Use a sterile adhesive bandage or blister pad to cover the blister and protect it from further friction or irritation. Ensure the bandage is applied securely but not too tight.
Combating Blisters in Extreme Weather Conditions

Tips for Preventing Blisters in Hot Weather
Hiking in hot weather presents unique challenges when it comes to blister prevention. Increased heat and humidity can lead to excessive sweating and moisture buildup, increasing the risk of blisters. Here are some tips to combat blisters in hot weather:
- Choose Breathable Footwear: Opt for breathable hiking shoes or boots that allow air circulation. Look for materials that wick away moisture and promote ventilation, helping to keep your feet dry.
- Wear Moisture-Wicking Socks: Select moisture-wicking socks made from synthetic or Merino wool. These socks help absorb moisture and keep your feet drier, reducing friction and blister formation.
- Apply Antiperspirant or Foot Powder: Use antiperspirant or foot powder on your feet before putting on your socks and shoes. These products help reduce sweating and dry your feet during hot weather hikes.
- Take Advantage of Rest Stops: Plan frequent rest stops during hot weather hikes in shaded areas. Take off your shoes and socks to allow your feet to breathe and dry out. It can help minimize moisture-related issues and reduce the risk of blisters.
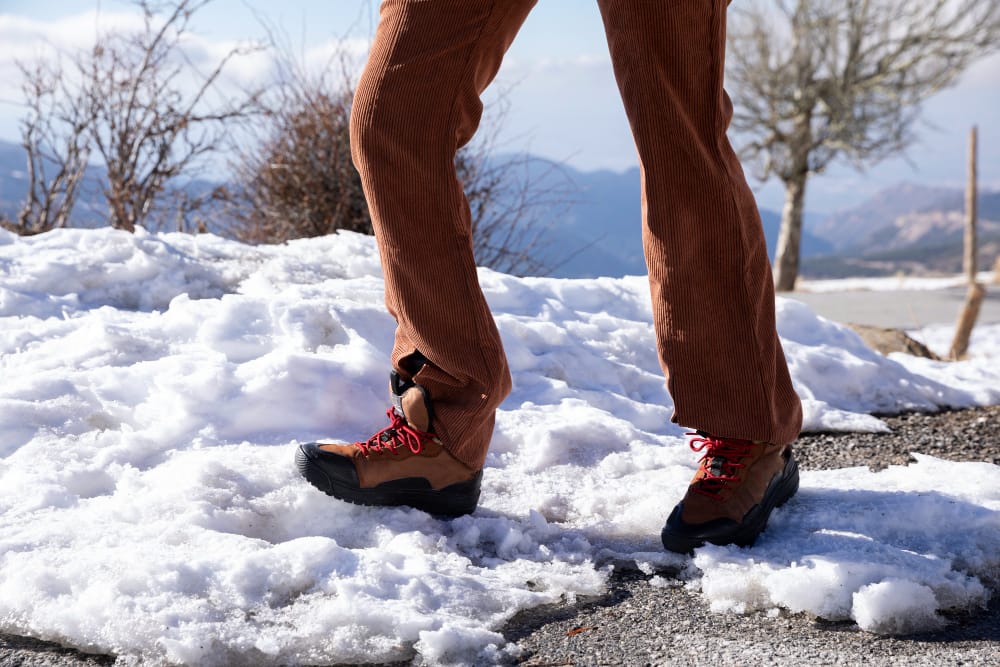
Strategies to Prevent Blisters in Cold and Wet Conditions
Hiking in cold and wet conditions can also pose challenges for blister prevention. Wet conditions can soften the skin, making it more susceptible to friction and blister formation. To combat blisters in cold and wet weather, consider the following strategies:
- Wear Waterproof Footwear: Invest in waterproof hiking boots or shoes to dry your feet in wet conditions. Wet feet are more prone to blisters, so ensuring waterproof footwear can help reduce moisture-related issues.
- Choose Moisture-Wicking Insulating Socks: Opt for insulating socks made from moisture-wicking materials, such as merino wool. These socks help manage moisture and maintain warmth, reducing the risk of blisters in cold and wet weather.
- Carry Extra Pairs of Socks: Pack additional socks to change into when your feet become wet. Wet socks significantly increase the risk of blisters, so changing into dry socks can help prevent friction and blister formation.
- Utilize Waterproofing Products: Apply waterproofing sprays or treatments to your boots or shoes before heading out in wet conditions. This extra layer of protection can help repel water and prevent excessive moisture from reaching your feet.
John Anderson, an experienced hiker and outdoor enthusiast, shares his advice:
“In extreme weather conditions, blisters can be a real challenge. I recommend investing in quality moisture-wicking socks and waterproof footwear. Keeping your feet dry is essential for blister prevention, whether hot and humid or cold and wet.”
Pro Tip
Dr. Rachel Carter, a sports medicine specialist, offers a valuable tip:
“In hot weather, consider using foot powders with cooling properties to provide additional comfort and reduce moisture. In cold and wet conditions, make sure to dry your feet thoroughly during rest breaks and change into dry socks to prevent moisture buildup.”
Experienced Backpackers Recommendations for preventing blisters
When it comes to preventing blisters while backpacking, experienced backpackers have valuable insights to share. Here are some recommendations from seasoned backpackers:
Invest in Proper Footwear
“Finding the right pair of hiking boots or shoes is crucial. Don’t compromise on quality and fit. Take the time to try on different options and choose footwear that provides good support, cushioning, and protection.”
Break in Your Footwear
“Before embarking on a long backpacking trip, make sure to break in your footwear. Wear them for shorter hikes or walks to allow your feet to adjust to the shoes and minimize the risk of blisters.”
Keep Your Feet Dry
“Moisture is your enemy when it comes to blisters. Use moisture-wicking socks, carry extra pairs, and take breaks to let your feet air out and dry. Dry feet are less prone to blisters.”
Listen to Your Body
“Pay attention to any discomfort or hot spots on your feet. Address them promptly by adjusting your socks, using moleskin, or taking a break. Ignoring early signs can lead to more significant blister problems later on.”
Frequently Asked Questions (FAQs)
Why do I get blisters every time I hike?
Blisters are a common hiking injury that many hikers and backpackers experience. If you get blisters every time you hike, it likely means your feet are susceptible to blisters and you need to take steps to prevent and treat blisters. Blisters while hiking are often caused by friction, moisture, and lack of sock cushioning. To reduce the risk of blisters, focus on keeping your feet dry, wearing good hiking socks, and properly preparing your feet before hitting the trail.
Do hiking socks prevent blisters?
Yes, wearing proper hiking socks can help prevent blisters while hiking and backpacking. Good hiking socks are designed to wick moisture, prevent friction, and provide cushioning – three key factors in blister prevention. Look for socks with moisture-wicking fabric, a snug fit, ample padding, and smooth seams to protect against blisters. Be sure to break in new socks and shoes gradually. Bring an extra pair of hiking socks to change into if your feet get wet. Good socks go a long way toward preventing painful blisters on the trail.
What do hikers use for blisters?
To prevent and treat blisters while hiking, most hikers carry blister care supplies in their first aid kit. Useful items include mole foam or blister bandages, lubricating balms, antiseptic cream, sterilized needles, gauze, medical tape, and braces. Hikers also rely on preventive measures like taping feet, wearing toe socks and gaiters, and using hiking poles to reduce friction. Having the right gear to manage blisters quickly is key to staying comfortable on long hikes.
What is the best blister prevention?
The best way to prevent blisters while hiking is to keep your feet dry, wear properly fitted hiking boots and socks, use lubricants, tape hot spots, and toughen skin gradually before a big hike. Moisture-wicking socks, toe socks, gaiters, and broken-in boots also help prevent blisters from forming. Take your shoes and socks off periodically to air out your feet and re-lubricate any hot spots. Addressing friction early is key to blister prevention on the trail.
Does putting Vaseline on your feet prevent blisters?
Applying a thin layer of petroleum jelly (Vaseline) before hiking can help prevent blisters by reducing friction. The oily coating allows your feet to glide inside shoes rather than rub. Reapply frequently as it wears off. Other lubricants like foot creams, anti-chafe balms, or Teflon powder sprays also work. Just test new products before a long hike and avoid excessive greasiness. Lubrication is an effective way to prevent blisters from forming on heels, toes, and other hot spots.
Is it better to wear thin or thick socks to prevent blisters?
For blister prevention, a medium-weight hiking sock is generally best. Avoid thin socks without enough cushioning or padding to protect feet. But overly thick socks can constrict feet and still allow friction blisters. Look for variable-thickness socks with reinforced padding along the heel, toe box, and ball of the foot since those areas are prone to blisters. A two-sock system with a thin liner paired with a thicker outer sock can help reduce friction while hiking as well.
How do I prepare my feet for a long hike?
To prevent blisters on long hikes, let your feet gradually adjust to the demands of hiking. Break in new boots by wearing them regularly at home and on short walks, then work up to longer hikes. Exfoliate calluses and moisturize feet daily in the weeks before a big trip. Take progressively longer practice hikes while monitoring hot spots. Toughen skin by doing barefoot walks or applying duct tape to high-friction areas. Prep your feet properly, and they’ll be hiking-ready.
What can I rub on my feet to prevent blisters?
The best substances to rub on feet to prevent blister problems are lubricating oils, creams, gels, or powders. These mimic the skin’s natural moisture while decreasing friction inside shoes and socks. Petroleum jelly, anti-chafe balms, foot glide creams, and silicone gels work well. Baby powder and Teflon sprays also reduce rubbing. Apply to clean dry feet before hiking and reapply during long breaks or after creek crossings. Keeping feet lubricated is a great way to avoid painful blisters!
Does wearing two pairs of socks prevent blisters?
Wearing two pairs or layers of socks can help prevent blisters while hiking and backpacking. A thin moisture-wicking liner sock underneath a thicker cushioned outer sock provides extra friction protection. The double-layer system wicks moisture while preventing skin-on-skin rubbing. But make sure your boots are sized to accommodate the extra sock volume without constricting toes. Carry extra pairs to change out damp socks and maintain padding.
What shrinks a blister?
To help shrink a popped blister, apply an ice pack wrapped in cloth to the area for 10-15 minutes several times a day. This reduces swelling and fluid buildup inside the blister. Keep the site clean, dressed, and elevated to prevent re-injury. Avoid picking at the blister’s skin or re-popping it. An over-the-counter hydrocortisone cream containing 1% can also help decrease inflammation. Most small, drained blisters heal within a few days if cared for properly.
Conclusion
Blisters may be common, but they aren’t inevitable on a hike. Anyone can help ward off these bothersome sores by taking preventive steps before and during your trek.
Start from the ground up with properly fitted, broken-in hiking boots and moisture-wicking socks. Protect friction zones proactively through lubrication, taping, gaiters and toe socks. Toughen your feet gradually pre-hike to resist blistering.
If hot spots still emerge, address them promptly with blister bandages or molefoam before they fully form. Know how to clean and dress ruptured blisters to avoid infection. While blisters can temporarily dampen your hiking enthusiasm, they don’t have to halt your progress on the trail.

John Smith
John has been an avid hiker for over ten years and has explored some of the most challenging trails across the USA. He has completed multiple long-distance hikes, including the Appalachian and Pacific Crest Trails. John is also a certified hiking guide, leading several hiking trips for groups of all ages and skill levels.